How-tos
The tasks buyers come back for, each answered in steps, Blueprint first and C++ after where both apply. They build on the quickstart’s character and targets and the words in Concepts.
Let an enemy cast back
An enemy casts with the same component as the player. With no camera to aim from, it aims at the actor set as its aim target.
- Add AS Ability System to the enemy’s Blueprint, and add its abilities to Starting Abilities.
- Set its Team to
2, and the player’s to1. An ability that affects Enemies passes over its caster’s team, so enemies on one team don’t hit each other. Team 0, the default, is hostile to everyone. - Turn off Show HUD and Bind Slot Input: they are for a player’s pawn.
- Where your AI decides to attack (a Behavior Tree task, a timer, or an event as below), call Set Aim Target with the player, then Try Activate with the ability.
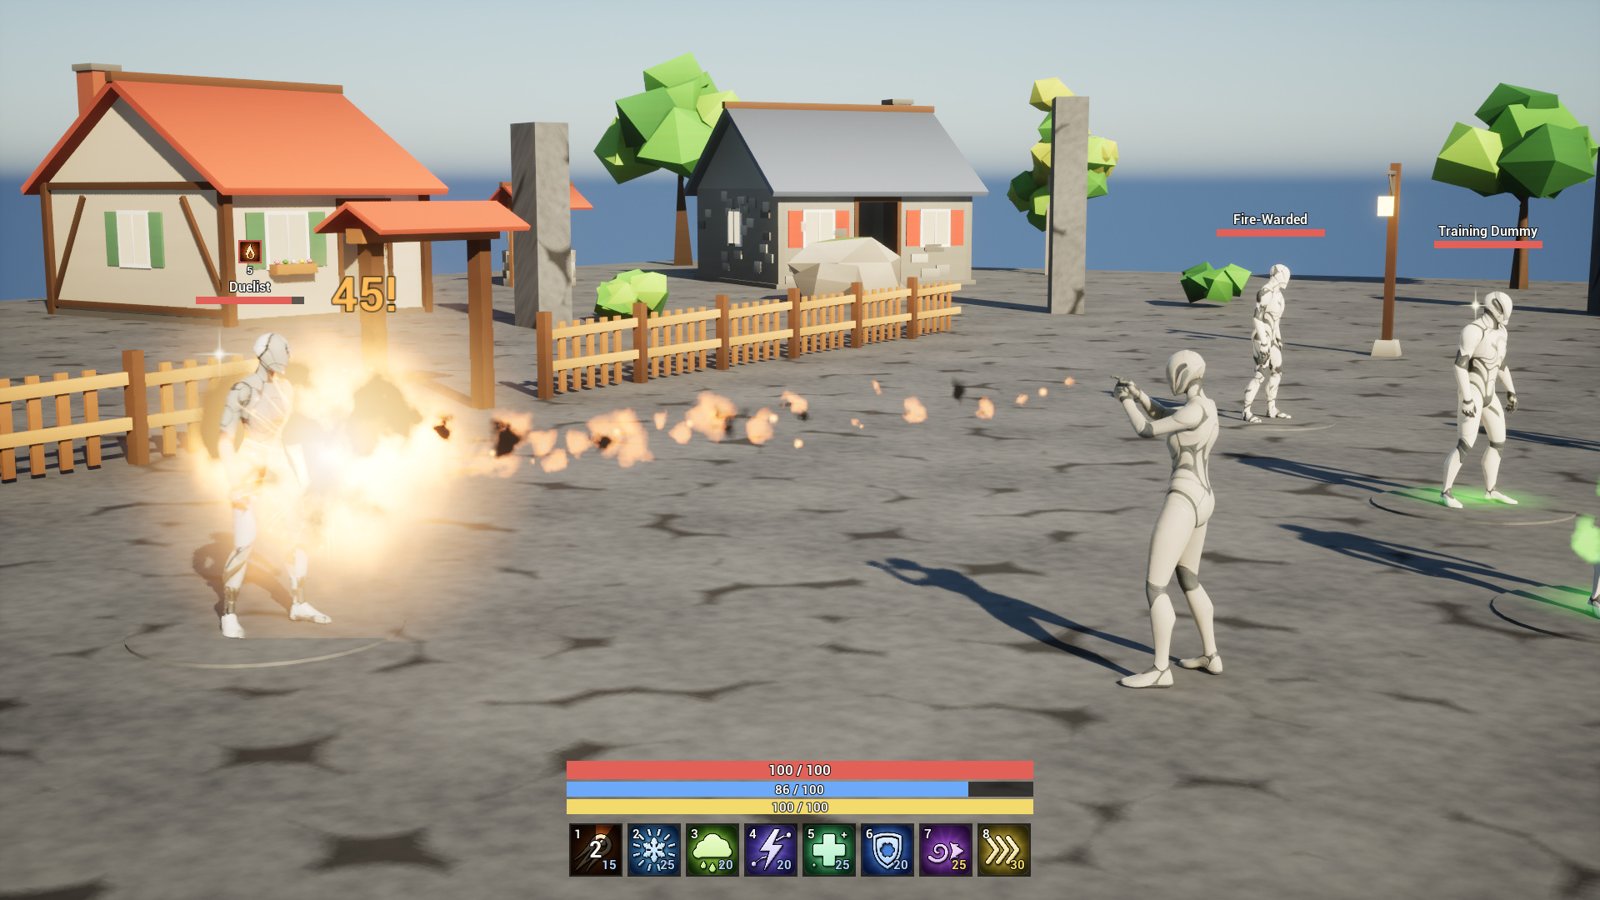
The demo’s Duelist does it when hurt: bind On Damaged on its component, and in the event, if
Instigator is valid and Is Dead is false, call Set Aim Target (Instigator) and Try
Activate (DA_FrostBolt). The cast runs on the server; Try Activate returns false, with On
Ability Failed, when the ability is cooling down or blocked.
#include "ASAbilitySystemComponent.h"
#include "ASLibrary.h"

void AMyEnemy::Attack(AActor* Player)
{
	if (UASAbilitySystemComponent* Abilities = UASLibrary::GetAbilitySystem(this); Abilities && !Abilities->IsDead())
	{
		Abilities->SetAimTarget(Player);
		Abilities->TryActivate(FrostBolt);  // a UASAbilityAsset* property set to DA_FrostBolt
	}
}
Give an ability during play
A pickup, a level-up or a trainer grants an ability with Grant Ability, on the server.
- In the pickup’s Blueprint, on On Component Begin Overlap, check Has Authority.
- Call Get Ability System with Other Actor. If it is valid, call Grant Ability with the ability, a Slot and a Level of 1.
Slots count from 0: slot 6 is key 7, and -1 grants it with no slot, for an ability
your own code activates. An ability already granted moves to the new slot. Remove Ability
takes it away again. The hotbar follows at once, and On Abilities Changed fires.
[!WARNING] An ability your Blueprint names, as here, ships in a packaged game; one granted only by name doesn’t (Packaging).
React to damage, healing and death
The component’s events fire on every machine, once armor and resistances are counted.
- Select the AS Ability System component in your Blueprint, and in the Details panel’s Events, click + beside On Damaged, On Healed or On Died.
- Use what the event gives: for damage, Amount (the whole hit), Absorbed (the part the
shield took), Damage Type (
Damage.Fire…), Critical and Instigator; Killer for a death.
A dead actor can’t act, be hit or get statuses. For a respawn on the spot, call Revive on the
server with the health to come back with (1 is full). For a new pawn, the new pawn’s component
starts fresh: save what should carry over.
For a status starting or ending, wait on its tag (Events).
// In BeginPlay; OnHurt is a UFUNCTION with the event's parameters.
if (UASAbilitySystemComponent* Abilities = UASLibrary::GetAbilitySystem(this))
{
	Abilities->OnDamaged.AddDynamic(this, &AMyCharacter::OnHurt);
}

void AMyCharacter::OnHurt(UASAbilitySystemComponent* Target, float Amount, float Absorbed,
                          FGameplayTag DamageType, bool bCritical, AActor* Instigator)
{
	UE_LOG(LogTemp, Log, TEXT("%.0f %s damage from %s, %.0f on the shield"), Amount,
	       *DamageType.ToString(), *GetNameSafe(Instigator), Absorbed);
}
Show what the player can use
An AS Glint is a small sparkle on whatever the player can cast at, pick up or use. The demo’s dummies each carry one while they stand.
- In the Blueprint of the target, item or prop, click Add and search
AS Glint. - Move it to where it should shine. Set Range to the distance it should show from.
- When the thing can’t be used any more, such as a target dead or an item picked up, call Set Glint On with it unticked; tick it again when it can.
To turn glints off, untick the component’s Glint On for one, or Glints in Project Settings > Plugins > Ability & Status Effects for the whole game. In play, Set Glints Shown on AS Glints (the local player subsystem, from the player controller) turns them all on or off, for an options menu.
Save and load abilities and statuses
Save Ability State puts an actor’s attributes, abilities with their slots and cooldowns, running statuses with their stacks and time left, and rebound keys into one struct, AS Saved State, for your own save game.
- Open your SaveGame Blueprint (or make one: Blueprint Class > SaveGame) and add a variable of type AS Saved State.
- To save: call Save Ability State with the player’s pawn, set the variable to its result, and save the game as usual with Save Game to Slot.
- To load: load the save game with Load Game from Slot, then call Load Ability State with the pawn and the variable, on the server, once the pawn is possessed. It returns false, having changed nothing, on a client or when the variable was never saved into.
The saved values replace the current ones: health, cooldowns and statuses are as they were, and a pawn saved dead loads dead. An ability or status removed from the project since is skipped. Save lists what the struct holds.
#include "ASLibrary.h"

// In your USaveGame subclass:
UPROPERTY(SaveGame) FASSavedState Abilities;

Save->Abilities = UASLibrary::SaveAbilityState(Pawn);   // save
UASLibrary::LoadAbilityState(Pawn, Save->Abilities);    // load, on the server
[!NOTE] Rebound keys live on the player’s own machine. In a single-player game or on the host nothing more is needed. To keep a remote client’s keys, call Save Ability State on that client and save them there, or send them to the server with your save request, as the demo does.
Play it in multiplayer
Everything replicates already: the component, attributes, statuses, cooldowns, projectiles and areas. The player’s machine starts a cast at once, and the server confirms it and decides hits, damage and statuses.
- Put the component on the pawn (as in the quickstart), not on the PlayerController, which other players don’t have.
- Grant, apply, load and revive on the server (Has Authority): those nodes do nothing on a client (which). Try Activate and Press Slot work from the owning player’s machine.
- To test, open the Play button’s menu, set Number of Players to 2 and Net Mode to Play As Listen Server, then Play.
Events reach every machine, so a sound or a hit flash bound to On Damaged plays for everyone. Code that changes the game in response (a score, a loot drop) should check Has Authority.
Let players rebind keys
- In your options menu, add an Input Key Selector for each slot.
- On its On Key Selected, call Get Ability System with the player’s pawn, then Set Slot Key with the slot (0 for the first) and the Selected Key.
The hotbar shows the new key at once, and the gamepad button stays as it was. Get Slot Key gives a slot’s key now, to show in the menu. Rebound keys are saved by Save Ability State.
To change the keys for every player instead, copy IMC_AbilitySlots from the plugin’s Input
folder into your project, change the copy, and set it as Slot Mapping in the
settings.
Restyle or replace the HUD
Restyle it:
- Right-click in the Content Browser and pick User Interface > Widget Blueprint. In Pick Parent Class, search for and pick AS HUD Widget.
- Design it as you like. A widget with a tree of its own keeps it in place of the built one, and the floating combat text still shows over it.
- On the Refresh event, which fires each frame, read what to show from Get Ability System: the attributes with Get Attribute, Get Statuses, Get Cooldown Remaining for each of Get Slot Ability, Get Cast and Get Last Failure.
- Set it as HUD Class in the settings, or on one component.
Replace it: turn off Show HUD on the component and build your own widget from the same nodes. The bars over heads are the AS Overhead Bar component’s, apart from the HUD.
Play an animation as an ability casts
- Open the ability and set its Cast Montage to an Anim Montage of the caster’s skeleton. Hit Montage plays on each target it hits.
- Press Play and cast.
If nothing plays, the character’s Anim Blueprint doesn’t play the montage’s slot. Open its AnimGraph and add a Slot ‘DefaultSlot’ node before the Output Pose, or the slot your montage uses.
Make an enemy resist or ignore a status
- Resist a damage type: in its component’s Starting Values, add FireResistance (or
Frost, Lightning, Poison) at
0.75to take a quarter of the damage, or1to take none. Armor lessens physical damage. - Ignore a status: give it the tag
Immune.Burning(or any status’sImmune.tag), orImmune.Debufffor every debuff. On the server, Add Loose Gameplay Tags with the actor does it.
Damage and resistances has the calculation, and Immunity the tags.
Write what an ability does in Blueprint
For what the fields don’t cover: a summon, a pull, a ward of your own.
- Make a Blueprint class whose parent is AS Gameplay Ability.
- Override Fire (Aim Point, Aim Actor), the ability’s work once the cast is done, or Apply To Target (Target, Scale), what one hit does. Call the parent to keep the archetype’s own work as well.
- In an ability asset, set Ability Class to your Blueprint.
Custom abilities has what each override gets and what else the class gives.
Use it with your own ability system component
For Lyra, GAS Companion or a component of your own.
- Add AS Attribute Set to the attribute sets your component starts with (in Lyra, an Ability Set’s Granted Attributes).
- Apply the plugin’s statuses with Apply Status, deal damage with Apply Damage, and read with Has Status and Get Attribute. The plugin’s abilities hit it as any other target.
Damage, the shield, the statuses and death work there; the events, the HUD, movement and casting need the AS Ability System component. Other ability system components has the whole list.