Quickstart: a map of your own level
Fifteen minutes from an installed plugin to a minimap, a compass and a world map of your level. You place a region over the level and capture its map, then a marker on a lookout and a named area, and play: the compass points to the lookout, the fog lifts as you walk, and the world map tracks the lookout and takes your pins. No Blueprint graph is needed.
The steps use the Third Person template’s level with the plugin enabled (Install). In your own level, size the boxes to it instead.
1. Place a Map Region
A Map Region is the box its map covers.
-
Open Window > Place Actors, search for
Map, and drag Map Region into the level.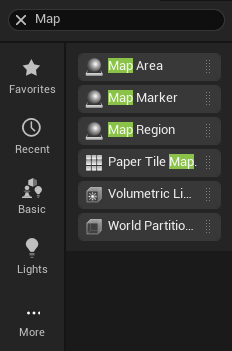
The plugin’s three actors in Place Actors. -
In its Details, set:
Field Value Location 0,0,0Box Extent (under Shape) 2000,2000,500Id ArenaTitle The ArenaReveal Radius (under Discovery) 800The box now holds the template’s 40 m square floor and its walls. Its top, 5 m up, is where the map is shot from. The fog lifts 8 m round the player here, rather than the 30 m an open world wants.
2. Capture its map
-
Click Capture Map at the top of the region’s Map settings. It takes a few seconds.
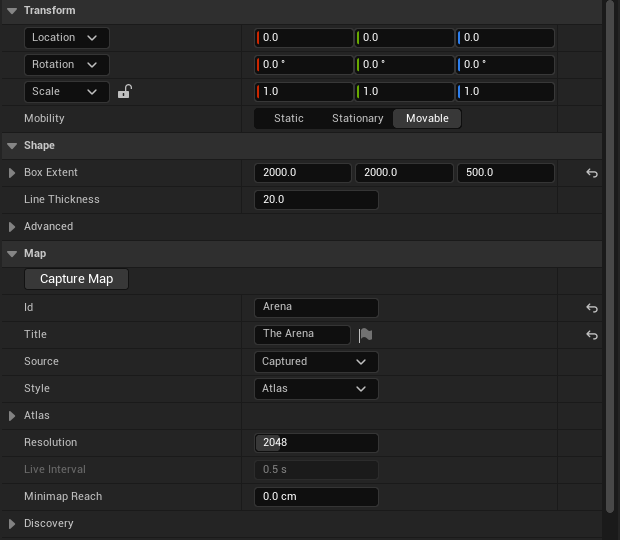
The region’s Details: its box, and Capture Map over its settings. -
Save the level (Ctrl+S).
The map is saved as ThirdPerson/Lvl_ThirdPerson_Map/T_Map_Arena, and the region’s Image
(under Captured) now holds it. It is drawn in the Atlas style: the level inked on
parchment. Change the region’s Style or its Atlas settings and click Capture Map again
to see another look.
3. Place a marker
- From Place Actors, drag a Map Marker onto the block in the north-west corner, and set
its Location to
1650,-1500,200: the block’s top. -
In its Details, set:
Field Value Icon T_Icon_TowerLabel LookoutCategory PlacesOn Screen ticked, under Show 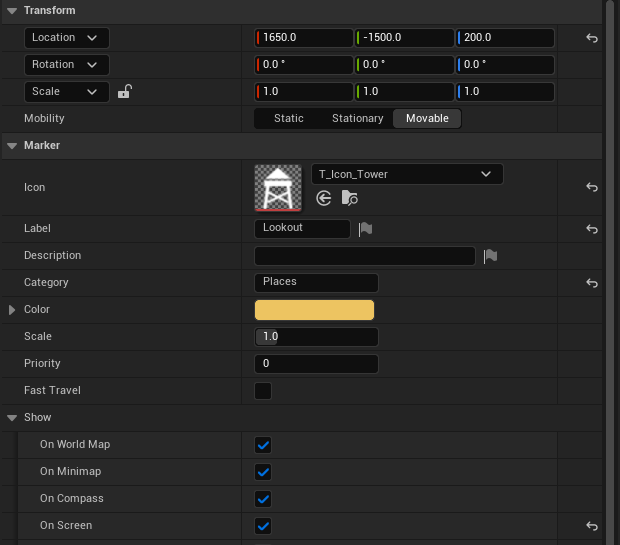
The marker, shown on the maps, the compass and the screen.
The icon picker lists the plugin’s fourteen icons; any white glyph on transparency of yours works too.
4. Place a Map Area
An area is a named place the player discovers.
-
Drag a Map Area into the north-east corner, and in its Details set:
Field Value Location 1500,1500,200Box Extent (under Shape) 500,500,300Id NorthStepsDisplay Name North Steps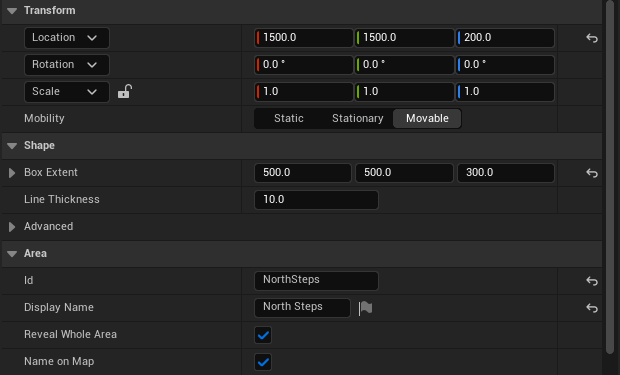
The area: its whole box is revealed when it is found. -
Save the level.
5. Play
Press Play.
- The compass bar is at the top and the minimap at the top right; the minimap turns as you turn the camera.
-
Walk to the north-east corner, ahead and to your right, up the steps. As you enter the area its name comes up: North Steps. Turn left, to the west: the Lookout is ahead over its block, and the compass shows it with its distance.
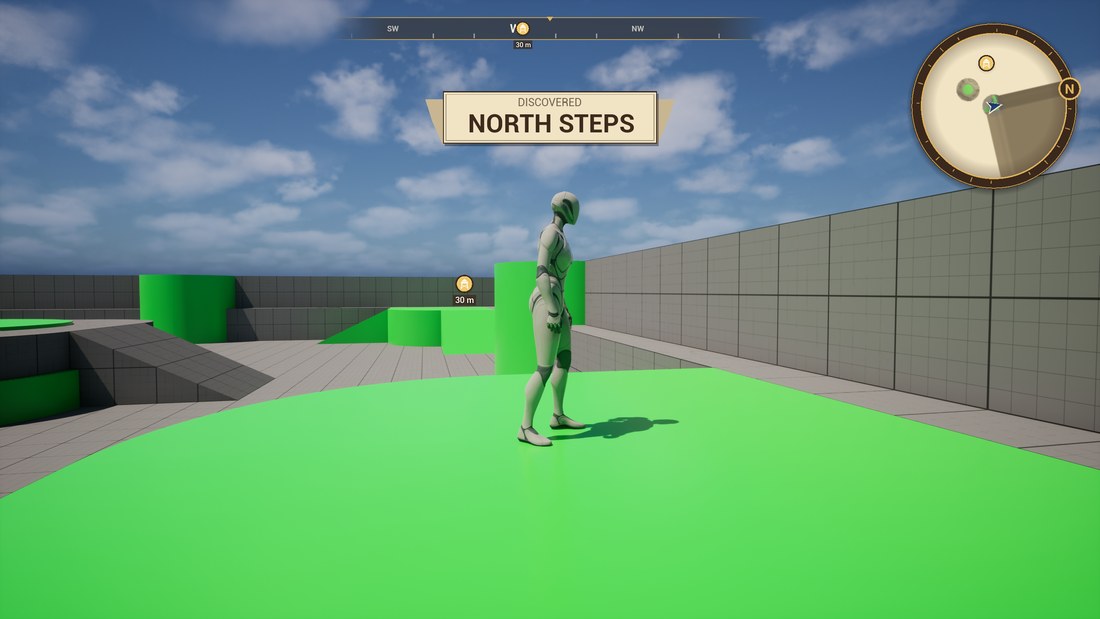
The compass, the minimap, the Lookout on screen, and the area discovered. 
The compass bar up close: the Lookout to the west, 30 m away. - Press M (Menu on a gamepad). The world map opens on you; scroll the mouse wheel to see the whole arena. Where you’ve walked is drawn, the rest is blank paper, and North Steps is written across its corner.
- Click the Lookout: it is now tracked. A line leads to it on the map and the minimap, and the compass lights it.
-
Right-click an empty spot and pick the Flag: a pin of your own.
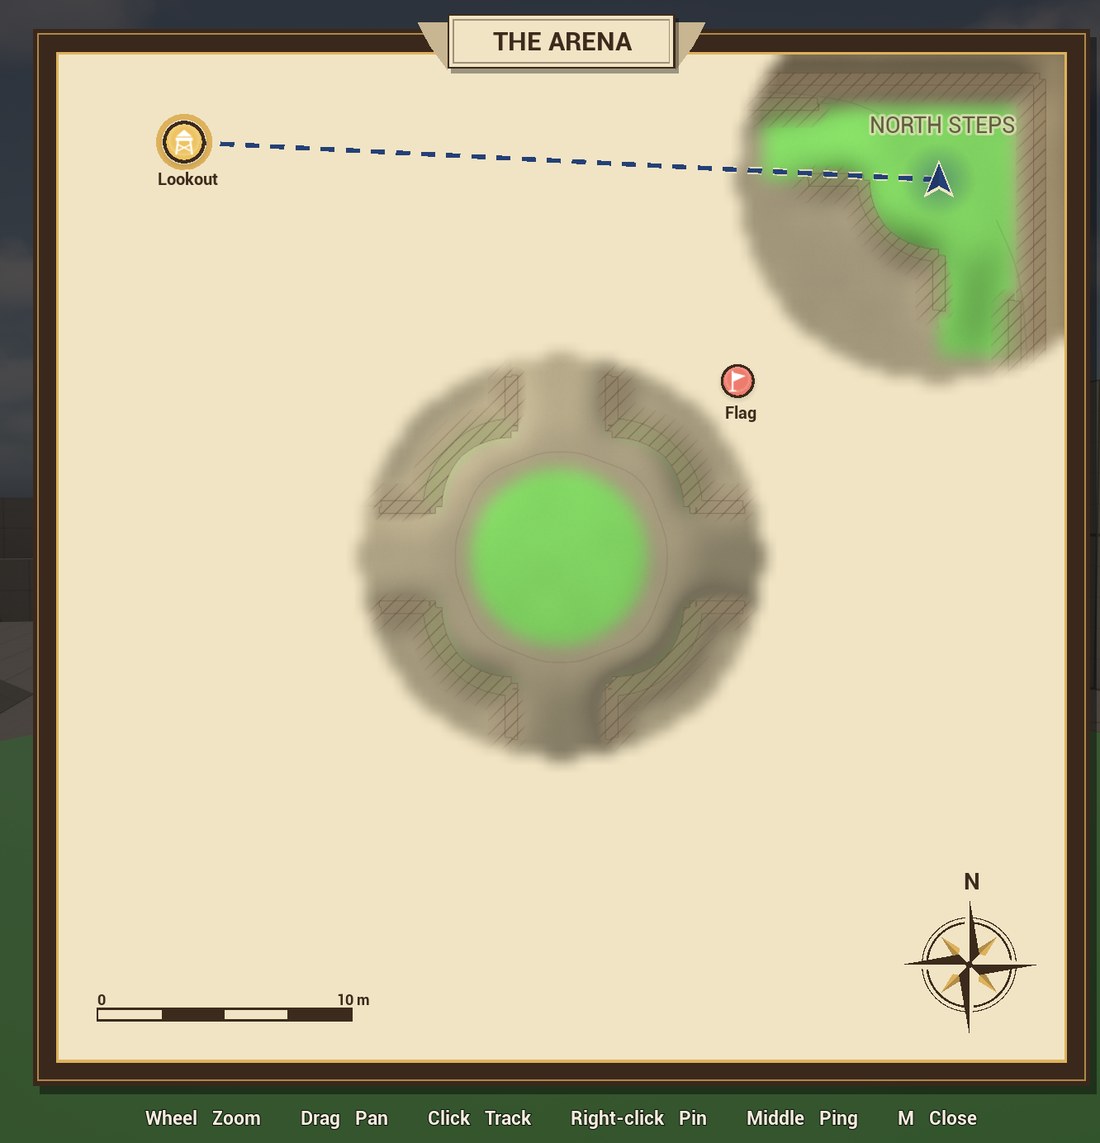
The world map: fog, the area, the tracked Lookout and a pin. - Press M or Esc to close it.
On a gamepad the left stick moves the cursor and the right one pans, the triggers zoom, A clicks, X pins and B closes.
To watch it as you play, press ' (apostrophe) for the Gameplay Debugger: its Map
category shows your region, how much of it you’ve revealed, the areas you’ve found, your pins and
what you track. In the console (`), Map.Reveal reveals the whole map and
Map.Reset forgets it.
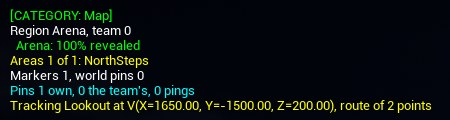
Map.Reveal.If something doesn’t happen as written, Troubleshooting has each step’s usual cause.
Next
- Point the player at a quest’s goal.
- Save the map with your game.
- Concepts: regions, floors, areas, markers and each player’s map.