How-tos
The tasks buyers come back for, each answered in steps, Blueprint first and C++ after. They build on the quickstart’s map and the words in Concepts.
Put a marker on an actor
A Marker component follows its actor: an NPC, a chest, a cart.
- Open the actor’s Blueprint, click + Add in the Components panel and pick Marker.
- In its Details set an Icon (the plugin’s are in Plugins > World Map, Minimap & Compass System > Icons), a Label and a Category.
- Tick On Screen to show it over its place in the view too, and Hold At Minimap Rim to keep it on the minimap from afar.
Every instance of the Blueprint now shows on the maps and the compass. Set Label per instance in the level, or from the Blueprint’s Construction Script.
#include "MCMarkerComponent.h"

AMerchant::AMerchant()
{
    Marker = CreateDefaultSubobject<UMCMarkerComponent>(TEXT("Marker"));
    Marker->SetupAttachment(RootComponent);
    Marker->Label = NSLOCTEXT("Game", "Merchant", "Merchant");
    Marker->Category = TEXT("Town");
    Marker->bOnScreen = true;
}
Show what the player can use
A Glint is a small sparkle over a chest, a door, a lever or a waystone: something the player can pick up, open or use. It twinkles within its Range and hides behind walls.
- Open the thing’s Blueprint, click + Add in the Components panel and pick Glint.
- Move it to where the sparkle should be, at the lid’s edge, say.
- When the thing can’t be used any more (the chest emptied, the door locked), set its Shown off.
For a mesh placed in the level with no Blueprint, place a Glint actor (Place Actors > Glint) by it and attach it to the mesh in the Outliner.
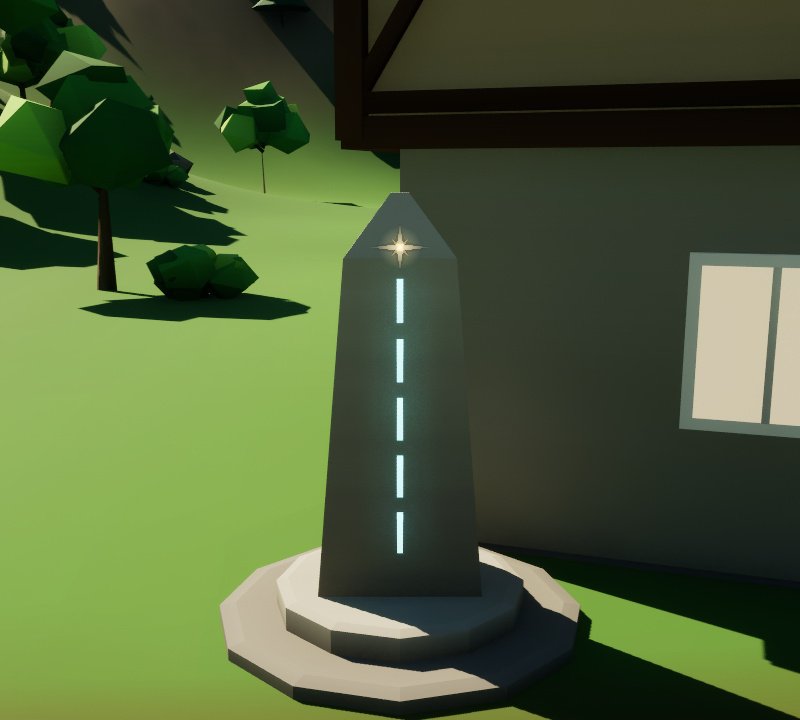
To turn them off for the whole game, untick Show Glints in the settings, or call Set Glints Shown on Get Map Subsystem from your options menu.
#include "MCGlint.h"

AChest::AChest()
{
    Glint = CreateDefaultSubobject<UMCGlintComponent>(TEXT("Glint"));
    Glint->SetupAttachment(Lid);
}

void AChest::Open()
{
    Glint->bShown = false;
}
Point the player at a quest’s goal
Track Marker lights a marker on the compass, holds it at the minimap’s rim and draws a route to it.
- Give the goal a Marker component (or place a Map Marker there).
- When the quest starts, call Get Player Map with the player’s controller, then Track Marker with the goal’s Marker.
- When it’s done, call Stop Tracking.
With heyheythere’s Quest & Dialogue System, bind On Quest State Changed on Get Quest Component: when New State is Active, Track Marker; when it is Completed, Stop Tracking.
#include "MCPlayerMapComponent.h"

if (UMCPlayerMapComponent* Map = UMCPlayerMapComponent::GetPlayerMap(PlayerController))
{
    Map->TrackMarker(Goal->FindComponentByClass<UMCMarkerComponent>());
}
Show game data as pins
For many places with no actor of their own (farm plots, ore veins, a quest’s search area), add pins: data only, thousands at little cost.
- Call Get Map Subsystem, then Add Pin with a Make Map Pin: its Location, a Label, an Icon and a Category.
- Keep the Id it returns, to Remove Pin later or to Track Pin on the player’s map.
In multiplayer, world pins are each machine’s own (Multiplayer).
#include "MCMapSubsystem.h"

FMCPin Pin;
Pin.Location = Plot->GetActorLocation();
Pin.Label = NSLOCTEXT("Game", "Wheat", "Wheat");
Pin.Category = TEXT("Farm");
const FGuid Id = UMCMapSubsystem::Get(this)->AddPin(Pin);
Fast-travel from the map
A marker with Fast Travel on, clicked on the world map, fires On Fast Travel on the player’s map. Moving the player is yours, so you choose the rules: discovered first, a cost, a loading screen.
- Tick Fast Travel on your waystones’ markers.
- Add a Player Map component to your player controller Blueprint (the plugin then adds none), and click + beside On Fast Travel in its Details.
-
In the bound event, take the Marker’s Get Owner and its location, and call Teleport on your pawn a little in front of it. Then Show World Map with Show off on Get Map HUD, to close the map.
Teleport on the server: in multiplayer, call a Run on Server event of your controller with the place to go to.
void AMyController::BeginPlay()
{
    Super::BeginPlay();
    if (UMCPlayerMapComponent* Map = UMCPlayerMapComponent::GetPlayerMap(this))  // on a client, there once replicated
    {
        Map->OnFastTravel.AddDynamic(this, &AMyController::Travel);
    }
}

void AMyController::Travel(UMCMarkerComponent* Marker)  // a UFUNCTION
{
    const FVector To = Marker->GetComponentLocation() + Marker->GetForwardVector() * 300.;
    GetPawn()->TeleportTo(To, GetPawn()->GetActorRotation());
    UMCMapHUD::GetMapHUD(this)->ShowWorldMap(false);
}
Map a cave or an upper floor
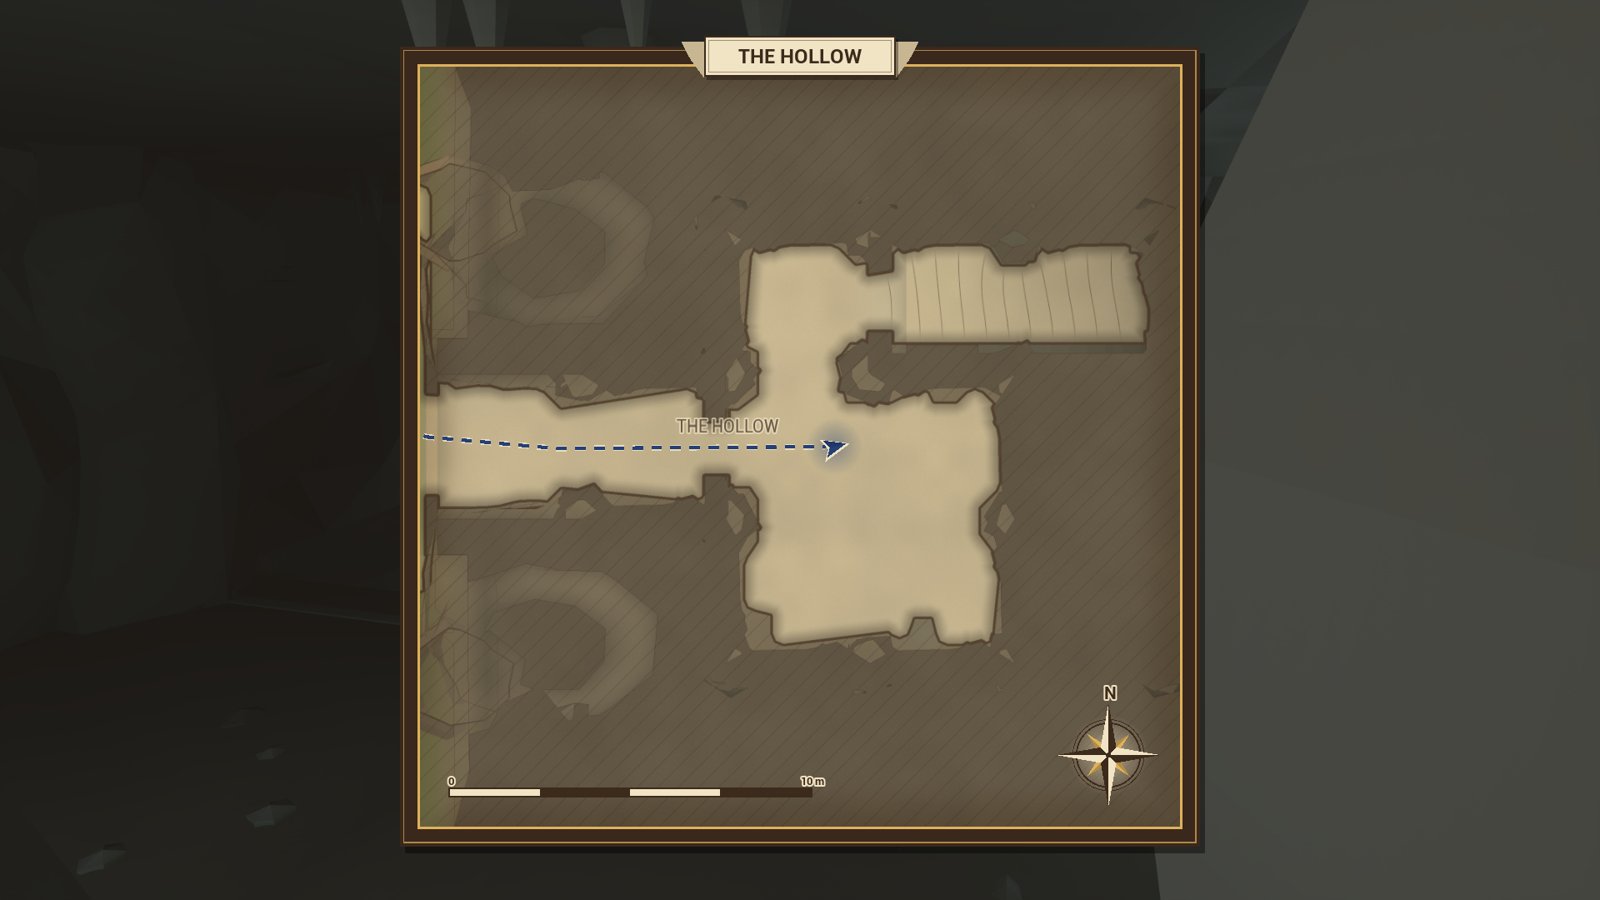
- Place a second Map Region whose box holds the cave, inside the outer one. Set its Id
(
Cave) and Title (The Hollow). - Set the box’s top just under the cave’s ceiling, and its bottom under the cave’s floor: the camera shoots down from the top.
- For a cave, tick Atlas > Underground. Tag the cave’s walls
MapWall(Details > Actor > Tags) if the ceiling hides them. - Build the navmesh (a Nav Mesh Bounds Volume over the cave) so the map can tell the floor from what’s blocked; the capture builds it if it isn’t built.
- Set Minimap Reach to about half the cave’s length, such as
1500, for the minimap to draw it large; a valley’s 50 m would leave a cave a small strip in it. - Click Capture Map on the new region.
Walking into the box switches the minimap and the world map to the cave’s map, and the player’s On Region Changed fires. A floor has its own fog, and draws the route on it alone: a ring marks where the route goes up or down to another floor.
Change the map’s look
The region’s Style and Atlas settings change the picture; click Capture Map again to see them.
| For | Set |
|---|---|
| a clean modern map | Parchment 0, Contours 0, Shadows 0.2 |
| an old treasure map | Parchment 1, Colour 0.4 |
| a flat level | Contour Interval 0 (no contours), Hillshade 0 |
| the level as it looks | Style Photo |
The frame, labels and legend are the world map widget’s; your own screen can put the widget in a frame of your own.
Save the map with your game
Save Map gives the player’s map as one value; keep it in your save game.
- In your SaveGame Blueprint, add a variable
Mapof type Map Save. - When saving, set it from Get Player Map > Save Map, then Save Game to Slot as you do.
- When loading, after Load Game from Slot, call Load Map with the variable.
// saving
SaveGame->Map = UMCPlayerMapComponent::GetPlayerMap(PlayerController)->SaveMap();
// loading
UMCPlayerMapComponent::GetPlayerMap(PlayerController)->LoadMap(SaveGame->Map);
Reward discovering a place
On Area Discovered fires on the server when a player finds an area: give XP, a trophy, a quest step.
- Add a Player Map component to your player controller Blueprint, and click + beside On Area Discovered in its Details.
- In the bound event, check Has Authority, then reward the player. The Area’s Display Name says where.
With heyheythere’s RPG Skill Tree & XP System, call Get Progression Component with Self, then Add XP with your track and an amount.
Reveal the whole map
A bought map, a high lookout, a cheat: Reveal Region on the player’s map, on the server, with
the region (or none for every region). Reveal At reveals a disc round a place, Discover
Area an area with its toast, and Reset Discovery forgets everything. While testing,
Map.Reveal does it from the console.
Lay out your own screen
The plugin’s Map HUD is a starting point. Three ways to change it:
- Move or restyle its parts. Make a Widget Blueprint whose parent is Map HUD, lay out widgets named Walking, Map Screen, Minimap, Compass Bar, Screen Markers, Area Toast and World Map (all optional), and set it as HUD Class in the settings. Show World Map and the map key keep working.
- Use the widgets in your own HUD. Turn Show HUD off and place Minimap, Compass Bar and the others from the palette’s Map section in your own Widget Blueprint. Open your world map widget from your own input, and give it keyboard focus so the gamepad works on it.
- Draw your own views. The nodes in the reference give every marker, pin, route point and the fog’s state; World To Map places them.
Open the map from a button or your own input
Call Get Map HUD with the player’s controller, then Toggle World Map or Show World Map. To use your own keys, set Map Keys in the settings, or empty it and call the node from your own input action.
Play with a team
Each player has their own fog and pins without any setup. For shared pins and pings:
- On the server, set Team on each player’s Player Map: players of the same number share.
- A pin a player places with Shared ticked, or a Ping, now reaches the team alone.
To try it in the editor, set Number of Players to 2 and Net Mode to Play As Listen Server in Play’s options.