Quickstart: a village in your level
Ten minutes from an installed plugin to a village you walk through. You make a level, give it ground, drop a village on it and pick a seed. No Blueprint graph is needed.
The steps use a new Basic level in any project with the plugin enabled (Install): the Third Person template’s, for its character to walk round with. In a level of your own, put the village on your landscape instead.
1. Make a level with room for a village
- Pick File > New Level, choose Basic and click Create. Save it (Ctrl+S)
as
L_Villagein aMapsfolder. -
A village with its fields and woods fills about 240 m square, and the Basic level’s floor is 80 m. Select Floor in the Outliner and, in its Details, set Scale X and Y to
30, leaving Z as it is. The floor is now 300 m across.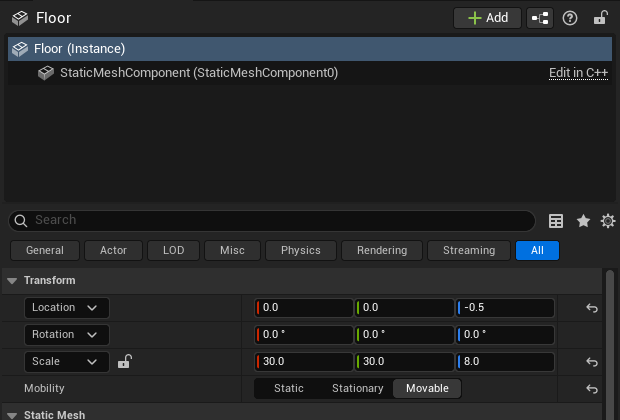
The Basic level’s floor, scaled out to 300 m.
2. Place a village
-
Open Window > Place Actors and search for
Village. Drag VG Village into the level.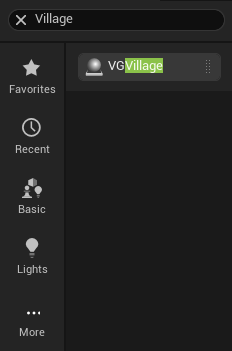
VG Village in Place Actors. - In its Details, set Location to
0,0,0. The village builds round it in a second or so: roads, houses, the square, fields and woods, on the floor below. -
Set Seed to
42. The village builds again, a different one: 36 buildings round a square, the church beside it.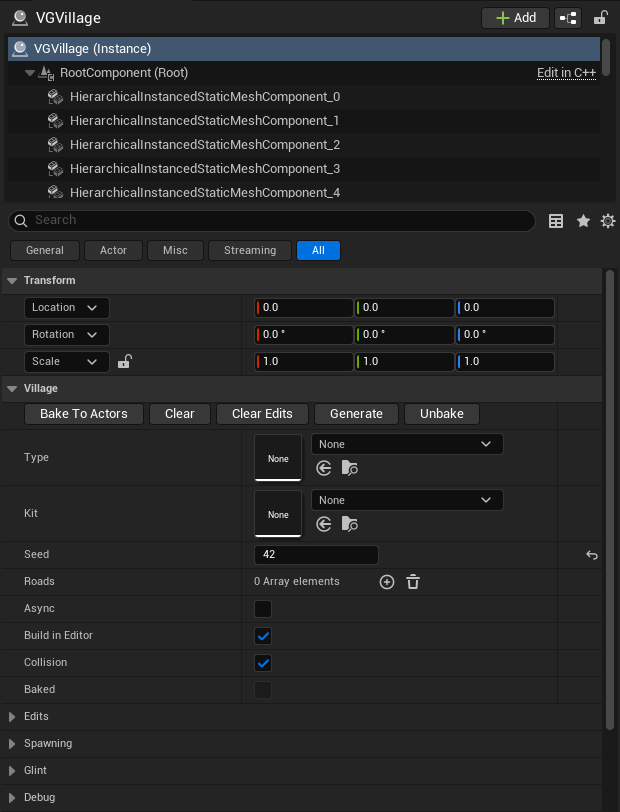
The village’s own settings. Type and Kit empty use the plugin’s. - Save the level.
Any whole number is a seed, and each builds its own village. Try a few, and keep the one you like.
3. Play
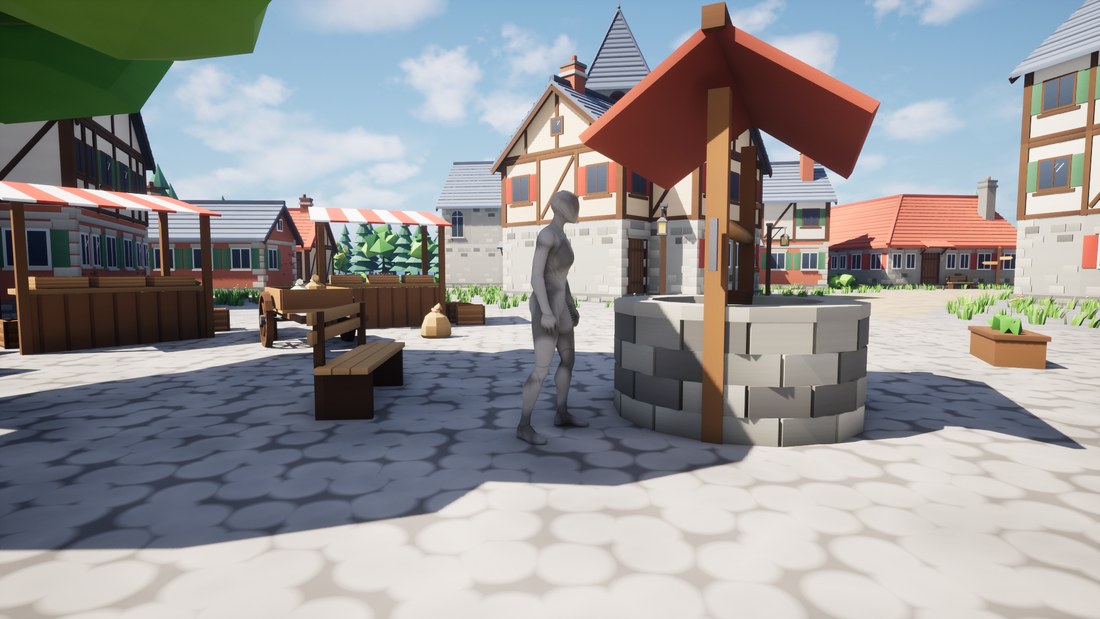
Press Play. You stand on the village square, where the player start is. Turn round to find the church.
-
Open the console (`) and type
Village.Debug 1. Over the village, each building’s box and its role, each place where someone can sleep, work, sit or trade, and the areas’ outlines are drawn. A place is green while free and red once claimed.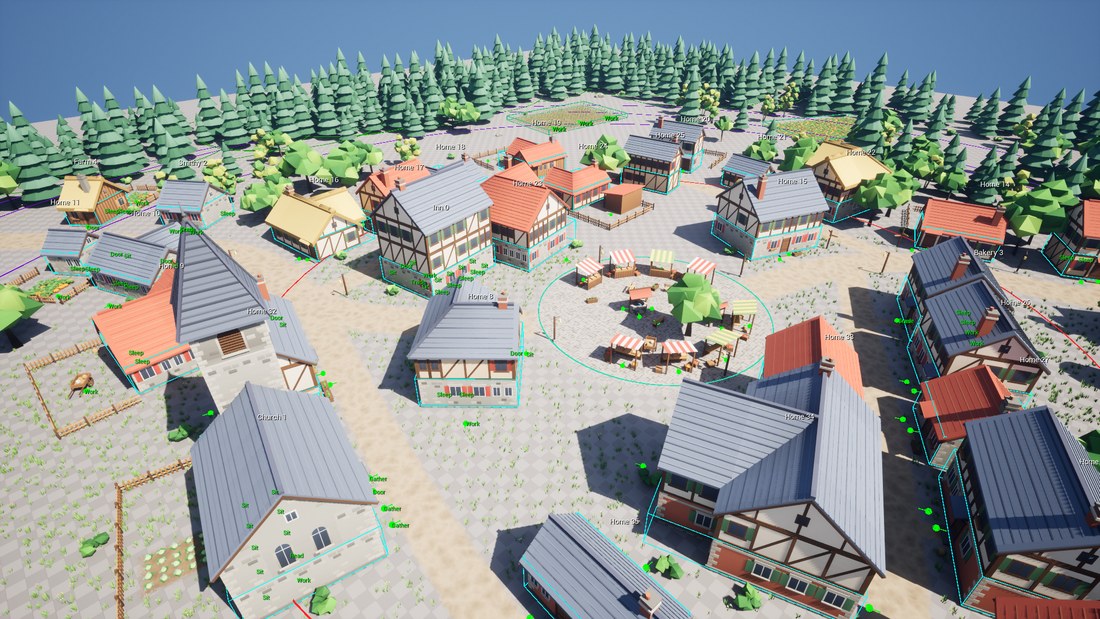
Village.Debug 1: what your game can read of the village. -
Type
Village.Debug 0, thenVillage.Roles. On screen and in the Output Log, it lists the village’s buildings by role (for seed 42: Inn 1, Church 1, Smithy 1, Bakery 1, Farm 2, Home 30) and its places by kind, each with how many are held. -
Type
Village.Seed 7. Another village is built where you stand.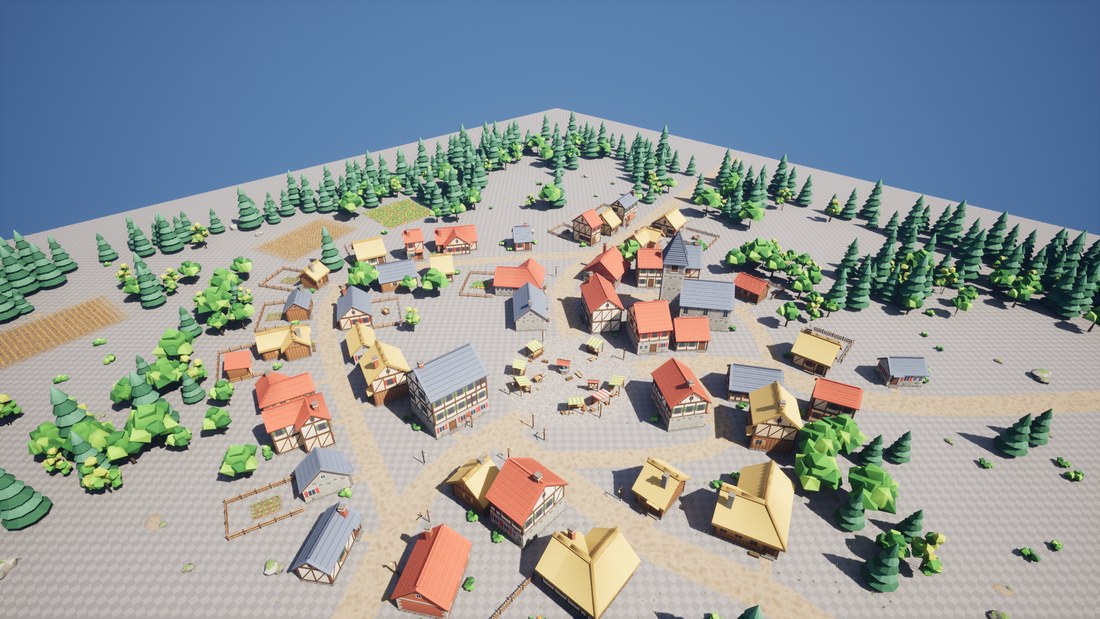
Village.Seed 7: the same rules, another village.
The seed you type in Play lasts until you stop. To keep it, set it in the village’s Details.
If something doesn’t come out as written, Troubleshooting has the usual causes.
Next
- Lay the village along your own road.
- Give your NPCs homes and work.
- Make a village type of your own.
- Concepts: seeds, types, rings, roles, places and areas.